I used my Pacific Crest Trail hiking gear repair kit extensively, shared it with Blaze and Dances With Lizards, and shared it with other hikers on the trail. My kit weighed about 4 oz when fully stocked prior to making inevitable repairs.
Storage
I stored my hiking gear repair kit in a zip lock freezer bag. I put the whole kit inside the Caldera Caddy from my Trail Designs Caldera Cone Stove System. There is plenty of room in the Caldera Caddy for the stove, rolled up cone, and a hiking gear repair kit. Putting the kit in the Caddy kept small repair items from migrating around inside my pack.
![There's enough room in a Caldera Caddy for a cooking system and a gear repair kit. Photo by Trail Designs.[/caption]](https://www.wanderabout.me/wp-content/uploads/2016-03-08-traildesigns-calderacaddy-400x400.jpg)
Duct Tape
Don’t leave home without it. We used it not only for gear repair, but to secure additional padding cut from old sleeping pads to Dances With Lizards’ pack shoulder straps and hip belt, to tape closed bounce boxes, and as a last resort for taping blisters among other things. I stored my duct tape rolled around a short piece of straw (I stored my sewing needle inside the straw with the open ends of the straw taped shut). I find good duct tape to be expensive. I’ll probably use military 100 mile per hour tape in the future. It’s a lot cheaper per yard than good quality duct tape available in hardware stores. I don’t know if there’s any difference between how 100 mile per hour tape and civilian duct tape are constructed. I know the military version is pretty durable since I used it a lot when I was in the Army.
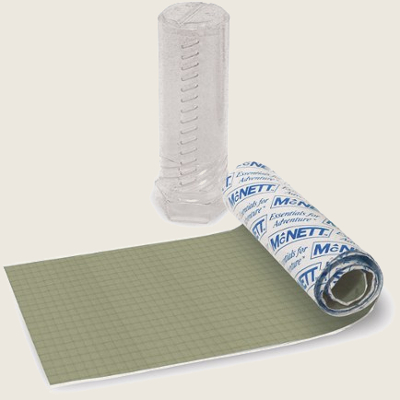
Tenacious Tape
I don’t use duct tape to repair outdoor gear made with technical fabric like backpacks, tents, and rain gear. For that I use Gear Aid Tenacious Tape. Tenacious Tape is made with stick to almost anything adhesive. Of course, I would clean the area I was taping best I could and let it dry before applying Tenacious Tape. The tape can be used on leaking seams, tears, and pinholes. I used it to fix tears in my backpack side pockets, and to protect the bottom of my pack where it was starting to wear through from abrasion. Fortunately, this time around I didn’t have tears in my tent fabric or rain gear that needed taping.
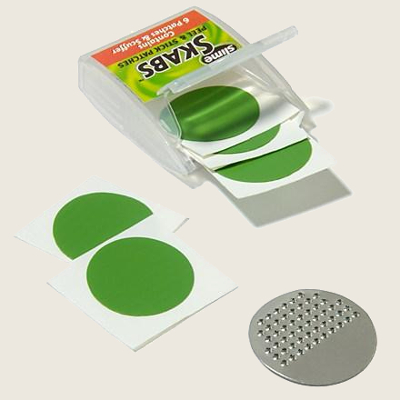
Slime Skabs
I carried Slime Skabs patches. I found them in the bicycle department at REI. These patches are used for quick, temporary repairs on bicycle tires. I used them for field repair of leaks in Cascade Designs Platy Bottles and on our Sawyer Squeeze Water Filter squeeze bags.
Safety Pin
Safety pins are useful for holding together broken zippers like on pants or tents. They’re also useful for hanging wet socks outside the pack to dry, popping blisters, and removing splinters.
Sewing Needle and Dental Floss
I carried a heavy duty, carpet type sewing needle. As mentioned above, I stored the needle in a straw because I wanted to avoid reaching into my kit and stabbing my hand. I used the needle and floss to sew tears in the outer mesh pocket of my backpack together. Dental floss is multi use for repair thread and dental hygiene. I buy unscented, coated floss. Blaze, Dances With Lizards, and I also used needle and floss to sew our floppy sun hats back together. Eventually, our hats were mostly dental floss and seam grip.
Seam Grip
I didn’t initially plan on carrying seam grip. I had some left over from seam sealing my Ursak S29 food bag before starting on the trail so I brought it along. It came in handy for repairing sun hats and shoes. We got several hundred more miles out of hats and shoes with the seam grip. I carried and used Gear Aid Seam Grip.