More post Pacific Crest Trail evaluations of my hiking gear: tent reviews.
A Three Person Tent
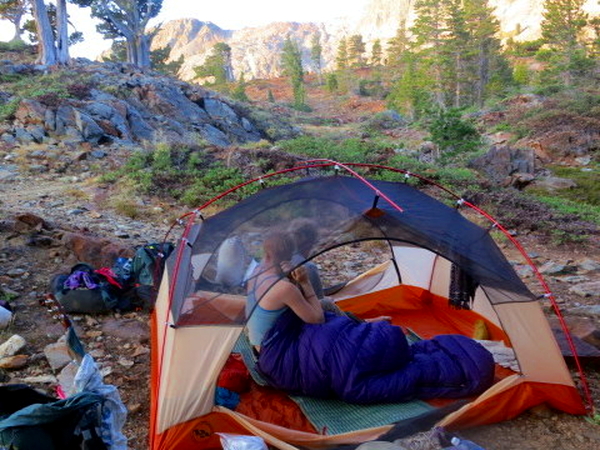
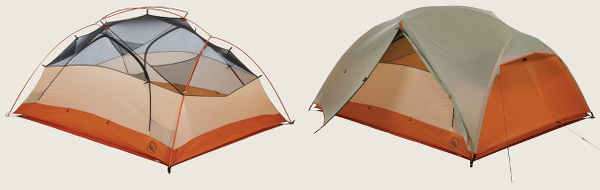
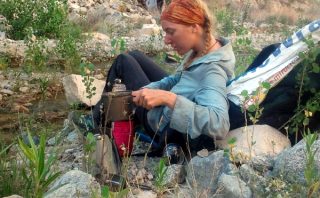
We started our journey sharing a Big Agnes Copper Spur UL3 Tent. We brought along the tent body, rainfly, footprint, two wall lofts, poles, and stakes. We removed the guylines and put them in a hiker box after a couple weeks because we found we weren’t using them except for the ones on the rainfly that pulled the bottom of the rainfly away from the tent body. These guylines were important for airflow so we didn’t get condensation in the tent.
I liked the ease of putting up the tent, which was most efficient to do with at least two people. The tent had lots of head room. The wall lofts helped with tent organization after the nightly explosion of stuff out of backpacks. The vestibules provided extra storage and organization space, although they didn’t quite cover packs set under them. I think that most three season tents fit three bodies only or two people and gear nicely. We slept snugly, that’s for sure.
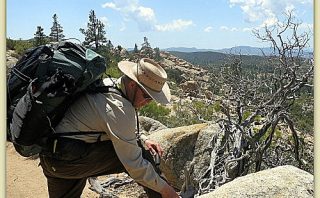
We started out sharing the pieces of the tent between three of us. After Blaze hurt an ankle, Dances With Lizards and I carried the tent – about 36 oz for each of us.
The Copper Spur UL3 kept us sheltered in high winds and dry in thunderstorms, rain, and hail.
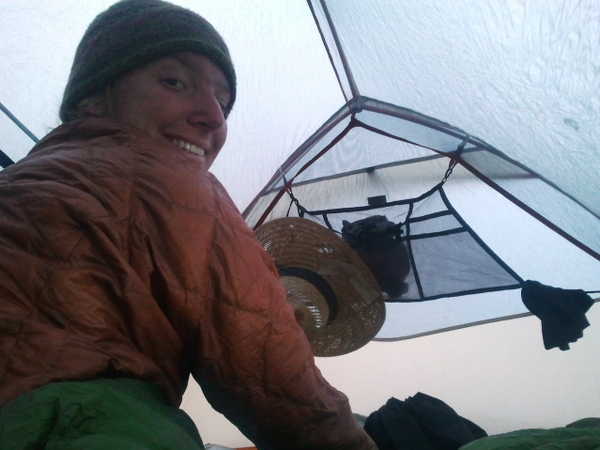
Some nights we slept out on the footprint under the stars. Most nights we used the tent body without the rainfly because we didn’t like insects cozying up with us while we were sleeping. Bug free sleep is good. We put the rainfly on those nights we needed extra warmth, or we were making camp in clouds, or it had been raining or looked like it might rain. We also used the rainfly every night after the zippers failed.
Yes, the zippers failed. On both doors. In the Sierra Mountains in mosquito country. Fortunately for us, we never experienced swarms of mosquitoes. At Vermillion Valley Ranch, we brushed all the zipper teeth clean with Blaze’s toothbrush (thank you Blaze for volunteering your toothbrush) and got one door to zip all the way and the other to zip part way. We contacted Big Agnes by email later when we could get internet. They were very supportive and helpful and sent us a new tent body. It took us awhile to get it since, of course, we were always hiking on between emails and email replies. By the time we got the replacement tent body at Echo Lake, both zippers had failed again despite our best efforts at brushing and resurrecting them.
I will use the Big Agnes Copper Spur UL3 again. Probably only for short duration trips – up to a few weeks. Probably not for months on end on a long trail because of the risk of zipper failure.
A One Person Tent

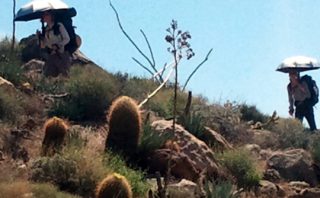
Blaze left the trail near Donner Pass after walking on one or the other and sometimes both injured ankles for over 1,000 miles. Dances With Lizards and I used the Big Agnes Copper Spur UL3 until we got to Sierra City. We had single person tents waiting for us there. Dances With Lizards borrowed an REI Quarter Dome T1 tent from a friend (thanks Daybreaker). I bought a Tarptent Notch (well, my wife got it for me – thanks Lori).
Tarptent’s had a display at the Annual Day Zero PCT Kick Off. I had seen the Notch and their other models. I liked the Notch because it is double walled allowing it to be used in three seasons and inclement weather. I also liked that it is dual entry and has dual vestibules.
This was my first experience with a Tarptent and using my trekking poles as tent poles. I liked it. I also liked cutting my shelter weight down to 27 oz. and saving over half a pound in weight reduction.
Setting up and taking down my Tarptent Notch took a little getting used to. But after a couple nights, this became routine. I paid extra attention to making sure the tent was staked down well and taut. Sometimes this included using large rocks over the stakes, especially on loose soil.
Being in a tent that’s only as wide as a sleeping pad was new for me. Fortunately, I’m short so I had room above my head and at my feet to put my journal, headlamp, water bottle, and gear I wanted with me in the tent. The vestibule provided ample room for my pack and the rest of my gear.
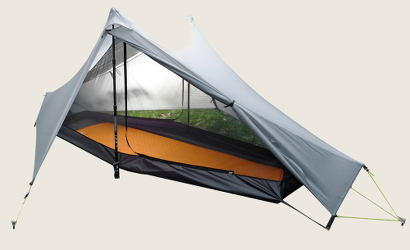
I ordered the Tarptent Notch with the partial, solid interior. I didn’t think the “bathtub” sidewall on the standard interior compartment came up high enough to keep rain and snow out both of which I figured I might encounter in Oregon and Washington. Unfortunately, the sidewall on the partial, solid interior extends over half way up the tent. This means that you can’t look “out the window or door” when laying down in the tent. I had to sit up to see campmates I was chatting with, watch the sun set, check for the critter making the noise, and that sort of thing.
The Tarptent Notch doesn’t come with seams sealed. Tarptent provides easy to follow directions. Aquiring materials and conducting seam sealing while on the trail was a bit of a hassle. I imagine most people aren’t ordering a tent from Tarptent over 1200 miles into a 2,660 some mile expedition.
My Tarptent Notch will be with me on future walks down long trails and short term backpack trips as well.
Hello,
Thank you for creating this site ! I would love to sit down with someone that has hiked the PCT to get their personal thoughts.
I was a military survival instructor which sounds great but I’m trained to do this type of thing with no gear – which puts me at a disadvantage because I know nothing about the gear that’s out there.
I live in Anaheim Ca – if anyone has time I’d sure like your input – I’m planning on spring 2018. Thanks.